Bringing animation to life
By:
Ann Wood
on 5/23/2018
I’ve been animating for a little over a year now, so I’m by no means a pro. I do have a few insights though on my animation process from recent work, and it may be helpful for anybody curious about the seemingly daunting work. It can definitely seem intimidating, but the bulk of good animation stems from a good story. Without content, you’re just moving parts.
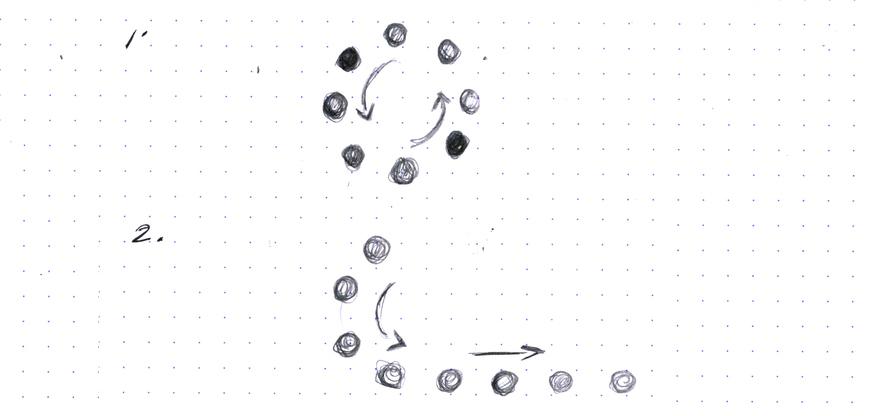
For my animations, I use Adobe After Effects and occasionally Adobe Illustrator if I’m importing files to animate. The first step to creating animation is by heading to the good ole fashioned drawing board. Map out your timeline to figure out when and how you want things moveâthis can be through drawings or just notes. Will there be a narrative to your animation, or will there be a simple focal point that you’re trying to draw attention to? Mapping things like this out is critical to quality animation.
As a side note, I think it’s helpful to try to “get in the mind” of the thing that you’re animating, whether it be a character or just a shape. It helps me think more empathetically about how and why an object will move, and it helps me think about how to inject some personality.
Once you have your storyboard, it’s time to start creating your pieces. For this particular animation, I was given a storyboard that was created by my art directors. The animation would use circles to represent an analysis process for one of our client’s pages on their site. I created my shapes in After Effects because they were simple and geometric. However, if you have more complex pieces to animate, you can create them in Illustrator or Photoshopâjust make sure that every piece you want to move is on its own separate layer. YouTube has some great tutorials on importing files into After Effects.
Setting it all up
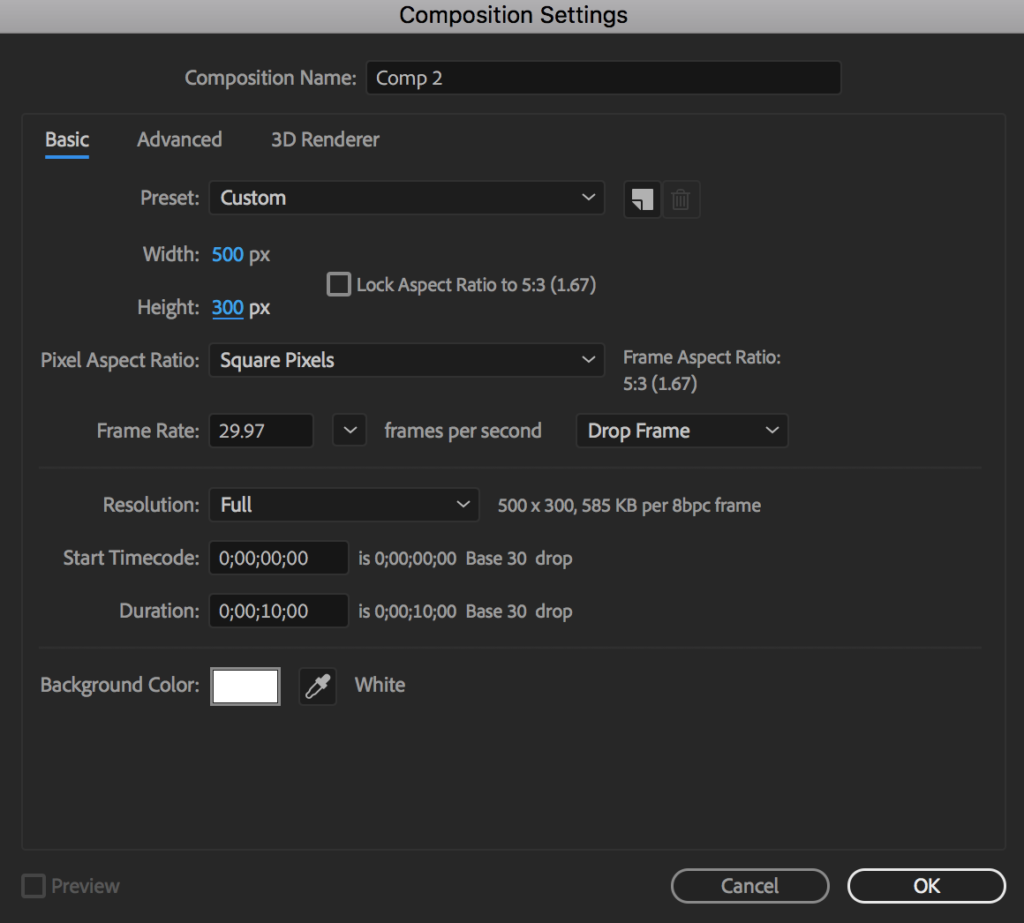
Before the fun part begins, you have to set up your file. You first create a new composition, which lets you dictate things like file size, frame rate, and time. Once you have that in place, your file is ready to go! Now you start adding layers to work with either straight in After Effects, or by importing them.
Make the things
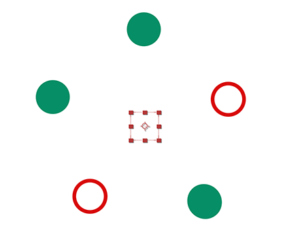
I created the pieces I needed by making shape layers. I did this by going to Layer â New â Shape layer. Each shape I created after that was automatically applied to its own layer, so I had 5 shape layers of circles. I gave 3 of them a solid green fill then the other 2 a red stroke to represent the âerror’ portions of the storyboard. For the first part of the first frame, I wanted all of the circles to move equally as a unit. I created a null layer by Layer â New â Null object and parented each circle to that null object. When the view is turned off, it kind of acts as an invisible command. I moved the anchor point of the null layer to the center of the shape, then added rotation keyframes. Because all of the circles were parented to this null layer, they all moved around the center point equally. Boom.
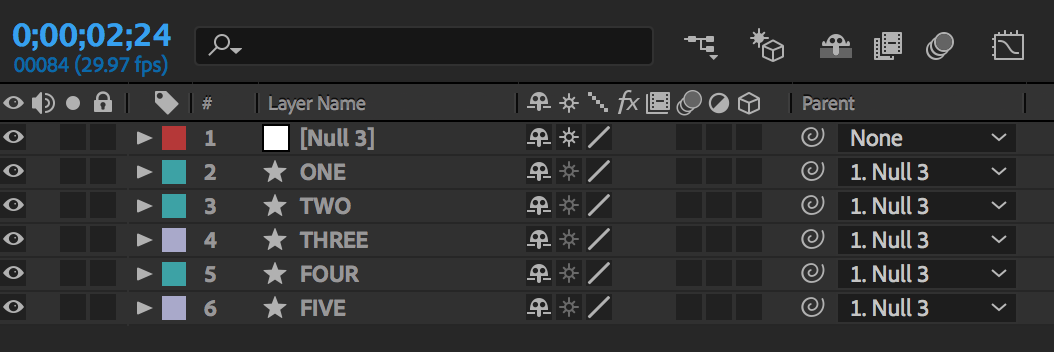
Next the shapes moved off the page. The rotation slowed down, and I added position keyframes to move the shapes off the page at around the same spot. To make it look seamless, I continued the rotation of the remaining shapes around to make them drop off once they hit the same point. To group all of this together, I made a pre-comp by going to Layer â Pre-compose. It makes organization so much easierâhighly recommend for larger files.
Make things explode!
For the next frame, I copied over all of the circles from the first artboard, then deleted all of the moving keyframes. This was so I had all the shapes at the same size. I positioned them above the visible artboard, then used position keyframes to drop them down and then move them over. To create the âfixing’ that happens to the error circles, I had the red stroke circle move up by position keyframes, quickly lower in opacity, then upped the opacity of a green solid circle in its place. I also added a thin dotted red stroke that scaled out at the same time as the opacity changes to make the whole animation look like the error circle was exploding out.


Once the circles were changed, I used position keyframes to split them down the middle to make room for a final circle to drop in from the top. Now the rest of the group is happy because the gang’s all here! I made them each move up by sequenced position keyframes to create a wave. Then I moved them off the artboard by changing their positions one at a time. I again grouped all of these shapes as their own Pre-comp.

Bring in some context
In the third frame, the circles needed to represent bullet points on a sheet of paper. I made the ‘sheet’ using the rectangle tool, then going into the shape properties and adjusting ’roundness’. To give some contrast to the paper against the white background, I added a subtle drop shadow by going to Layer â Layer style â Drop shadow. The rounded corners and shadows help bring in some softness. Next, I made the circles drop in by using sequenced position keyframes. As they fall into place, two rectangles appear next to each circle to give the illusion of text. These shapes fade in by using opacity keyframes. Once the dots have been lined up for a few seconds, I made each of the circles drop off the page similarly to how I did before. I dropped the sheet off as well, which means I also had to drop off each of the ‘text’ rectangles in sync to the sheet so it looked like the whole sheet was falling off.

Wrapping it all up
For the last frame, I wanted to add a little pizzazz to the circles. At this point they’re all working together, so I wanted to illustrate that satisfaction. Putting myself in the minds of these shapes may sound like a silly part of the process, but it really helped me add some unexpected happy points and personality to something that could have easily been bland.
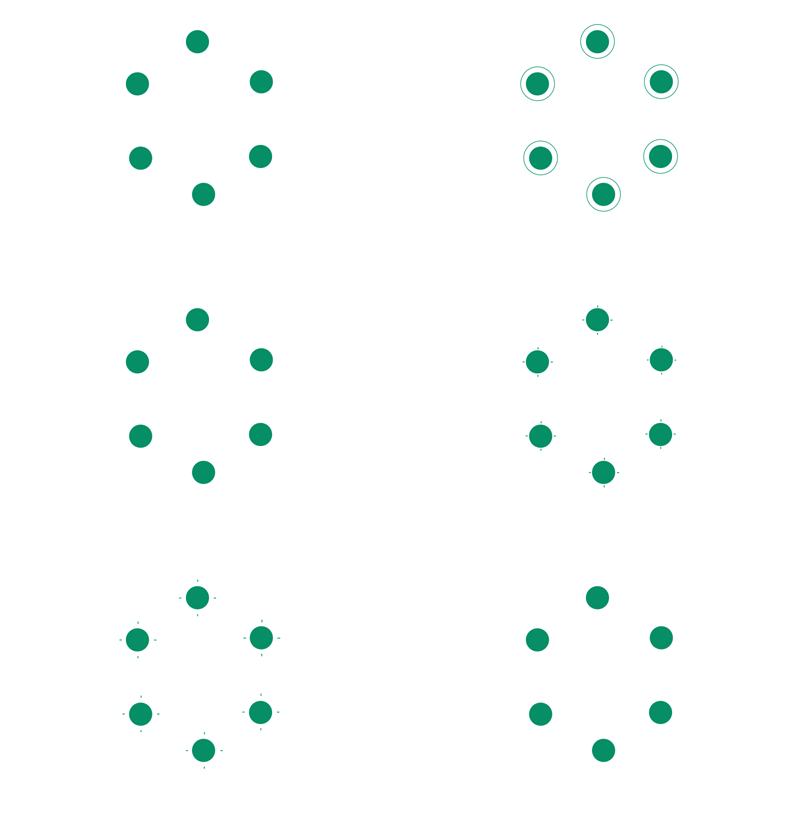
To make the pulse, I first made 2 new Pre-comps. I copied over the circles from the very first frame and made them all have a green fill. Once they were in place, I copied them again and pasted them in the 2nd Pre-comp. This ensured I had the same position set up for all of them. I then removed the fill and changed all of the circles to a 1 point green stroke. I used the opacity and scale properties to make the strokes appear when I wanted, and made them quickly scale up then back down again.
After that, I made another Pre-comp and made the strokes that would appear. I made a short stroke going in 4 directions, then added trim paths to each one that would make them draw out, then draw back in. Because that was one comp, I could then go back into the previous comp and copy and paste it for each circle. This way if I made any changes to those trim paths, they would be reflected for each circle. When all of these pre-comps were stacked on top of each other, they looked like a group of circles that were exploding out.
Finally, I created a simple pie chart from the last part of the storyboard. I first made a circle using the ellipse tool, and added a radial wipe transition (Effect â Transition â Radial Wipe) to make it draw out to 100%. I had to make sure the anchor point was in the middle of the circle as well. Next I copied the same circle to a new layer to keep the size consistent, changed the color, and adjusted the radial wipe. The key to making it stop to look like a pie chart section is by messing with the ‘Transition complete’ property. I wanted the sections to split up into thirds, so I made the transition for this shape 33% complete. I did the same thing with the next shape, but made the transition 66% complete to make it smaller. Because the circles are on top of each other, when drawn out, it looks like a pie chart split up evenly into thirds.
Once the pie chart was drawn out, I used the type tool to add in text for each section. I used opacity keyframes to made them appear, then disappear after a few seconds.
Here’s the final animation, and it can be seen in context here!
I’ve already learned so much more since completing this animation. There are some great tutorials out there, and I plan on experimenting more with After Effects in my free time. Hopefully these insights into my process will give you a jumping off point for your own work. Happy animating!
Related Posts
Tips for creating a Canvas game for Android
By:Nick Stewart on 8/9/2017
With the help of our excellent illustrator Pat, we will soon be releasing Face Paint Peggy, an HTML Canvas game for Android mobile phones. The object of the game is to catch “drops” that are of a certain color, progressing through levels where drops move faster and more drops are on the playing field.
Read More »Creating Face Paint Peggy
By:Nick Stewart on 4/25/2018
Recently we launched Face Paint Peggy, a simple HTML/Javascript game that showcases the power of creating mobile games with web technology. The game is available on Android and iOS for free.
Read More »